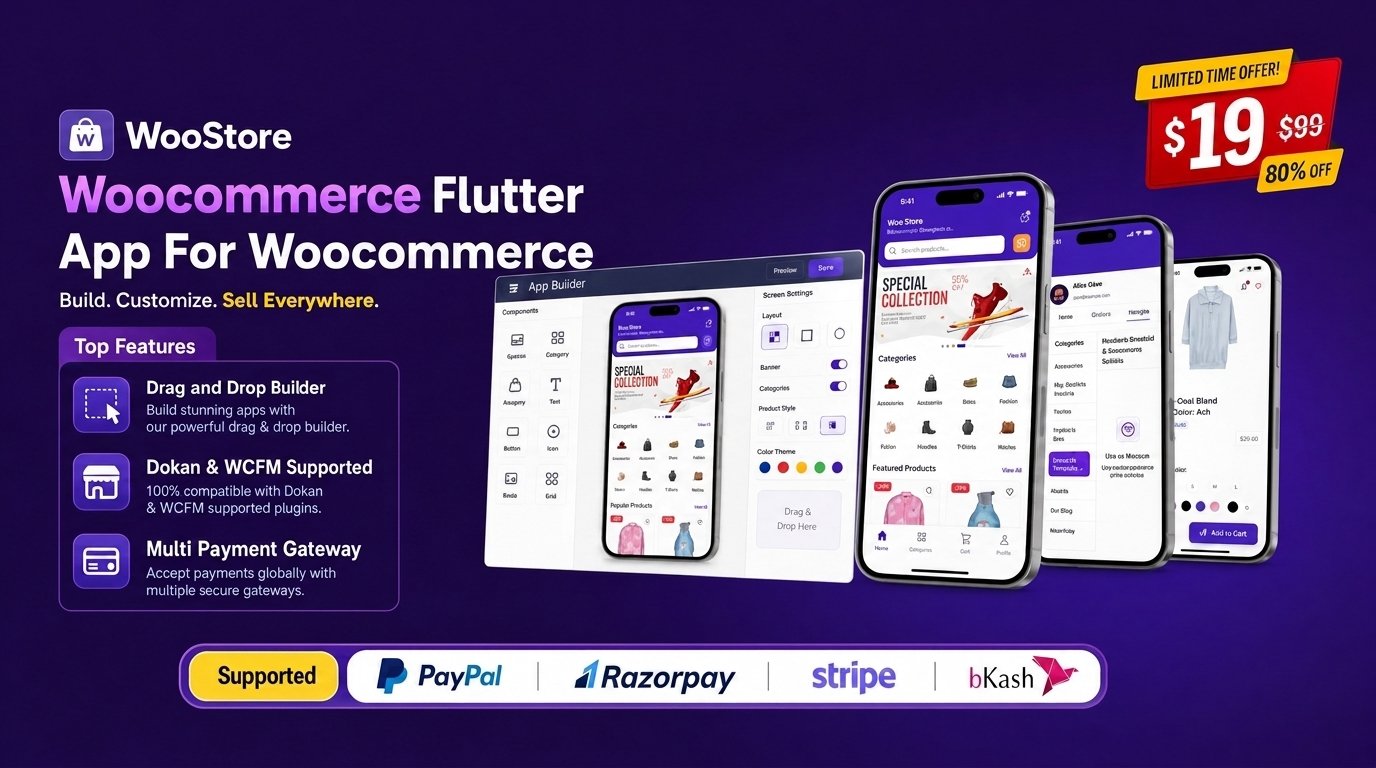
Launch your mobile storefront in minutes with WooStore. A high-performance, ready-to-use Flutter app for Woocommerce with native UI, instant sync, and seamless checkout.
For individuals who claim physical shops and designers, with our WooCommerce Multivendor App you have assortment prepared to utilize e-commerce formats to make your portable store application. On the off chance that you have your online shops, our app bolsters you to change over your present sites to portable store application effectively. Your store portable application will be found in both the App Store and Google Play Store. With our app, your versatile application gives higher client experience contrasting with site on portable. Your items will show up clear and can be zoomed with no designing mistake. While you can control your store and requests of customers, your customers likewise can interface and remain mindful of everything being equal and declarations of your stores in the event that they have your application on their mobiles.f
It is possible that you are specialists with raising deal desire or engineers with quicker portable application creation need, our WooCommerce Multivendor App gives you a way out.
Flutter Installation Flow
This guide outlines the complete steps for installing and setting up Flutter on both Windows and macOS operating systems. 1. System Requirements Ensure your system meets the minimum requirements before proceeding with the installation. Operating System Requirement Details Windows OS Version Windows 10 or later (64-bit) Disk Space 1.64 GB (does not include space for IDE/tools) Tools Windows PowerShell 5.0 or newer (pre-installed on Windows 10+), Git for Windows macOS OS Version macOS 10.14 (Mojave) or later Disk Space 2.8 GB (does not include space for IDE/tools) Tools Git, Xcode (for iOS development)
2. Installation on Windows 2.1 Get the Flutter SDK 1. 2. Download: Go to the official Flutter website and download the latest stable release of the Flutter SDK zip file. Extract: Unzip the file and place the contained flutter folder in a stable location, such as C:\src\flutter (avoid paths with special characters or elevated permissions like C:\Program Files).
2.2 Update Environment Variables 1. Locate Path: Navigate to the flutter\bin directory (e.g., C:\src\flutter\bin). Copy the full path.2. 3. Edit Variables: Search for "Environment Variables" in the Windows search bar and select Edit the system environment variables. Add to Path: In the System Properties window, click Environment Variables.... Under System variables, select the Path variable and click Edit.... Click New and paste the path to the flutter\bin directory. Click OK on all windows. 2.3 Run Flutter Doctor 1. 2. 3. Open PowerShell/CMD: Open a new command prompt or PowerShell window. Verify: Run the command:flutter doctor Check Output: The output will analyze your setup and identify any missing dependencies (like Android Studio, VS Code, or necessary command-line tools). 2.4 Set up Android Development (Prerequisite for Android/Mobile Apps) 1. 2. 3. Install Android Studio: Download and install Android Studio. Install SDK: Open Android Studio. Go to Settings > Appearance & Behavior > System Settings > Android SDK. Select the latest Android SDK and Android SDK Command-line Tools (latest) and install them. Android License: Accept the Android licenses by running:flutter doctor --android-licenses 2.5 Set up IDE 1. 2. Install IDE: Install a preferred IDE, such as VS Code or Android Studio. Install Plugins: Install the official Flutter and Dart plugins/extensions within your chosen IDE. 3. Installation on macOS 3.1 Get the Flutter SDK 1. 2. Download: Go to the official Flutter website and download the latest stable release of the Flutter SDK tarball. Extract: Unzip the file and place the contained flutter folder in your desired installation location, for example:cd ~/development unzip ~/Downloads/flutter * _ _ .zip macos3.2 Update Path Variable 1. Edit Shell File: Open the terminal and edit your shell startup file ($HOME/.zshrc if using Zsh, or $HOME/.bash_profile if using Bash).nano $HOME/.zshrc # OR nano $HOME/.bash _profile 2. 3. Add Path: Add the following line, replacing [PATH_TO_FLUTTER_DIRECTORY] with your actual path (e.g., ~/development/flutter):export PATH="$PATH:[PATH TO FLUTTER _ _ _ DIRECTORY]/bin" Save and Reload: Save the file and reload the terminal window or run:source $HOME/.zshrc # OR source $HOME/.bash _profile 3.3 Run Flutter Doctor 1. 2. Verify: Open a new terminal window and run:flutter doctor Check Output: Review the output for any missing dependencies. 3.4 Set up iOS Development (Prerequisite for iOS/Mobile Apps) 1. 2. 3. Install Xcode: Install the latest stable version of Xcode via the App Store. Configure Xcode: Configure the command-line tools to use the newly installed version:sudo xcode-select --switch /Applications/Xcode.app/Contents/Developer Accept License: Accept the Xcode license agreement:sudo xcodebuild -runFirstLaunch 3.5 Set up Android Development (Prerequisite for Android/Mobile Apps) 1. 2. 3. Install Android Studio: Download and install Android Studio. Install SDK and Command-line Tools: Follow the same steps as the Windows installation (Section 2.4). Android License: Accept the Android licenses:flutter doctor --android-licenses 3.6 Set up IDE 1. Install IDE: Install a preferred IDE, such as VS Code or Android Studio.2. Install Plugins: Install the official Flutter and Dart plugins/extensions within your chosen IDE. 4. Final Verification and Next Steps 1. 2. Run Doctor Again: After completing all steps for your OS and required mobile platforms, run flutter doctor one final time. All required sections should show a checkmark ([✓]). For Run the App:flutter run This command will launch the default sample app on an available device or simulator/emulator.
Configuration
1 article
1. Open your wordpress admin panel
2. Click on plugin in the left side bar and add the plugin
3. Get our Flex Build - WooCommerce Mobile App Sync plugin then go to wordpress plugin
4. Click on Add New
5. Choose the plugin zip file then install it
6. Go back in dashboard and click on Flex Build on right side
7. Get the plugin key and copy this key and paste it in app code